A Web Front is one of your websites as it appears on your Gridtop: its domain, the folder of files your hosting serves, and everything connected to it. With a Web Front on the grid, your website sits beside the agents that work on it, and you can open its files, make new versions of it, publish to it and hand it to an agent like any other object.
Each Web Front stands for one website on your hosting: a domain, and the folder that holds the site's pages, pictures and code. The icon on the grid is a shortcut; the website lives on your hosting, and removing the icon never touches it.
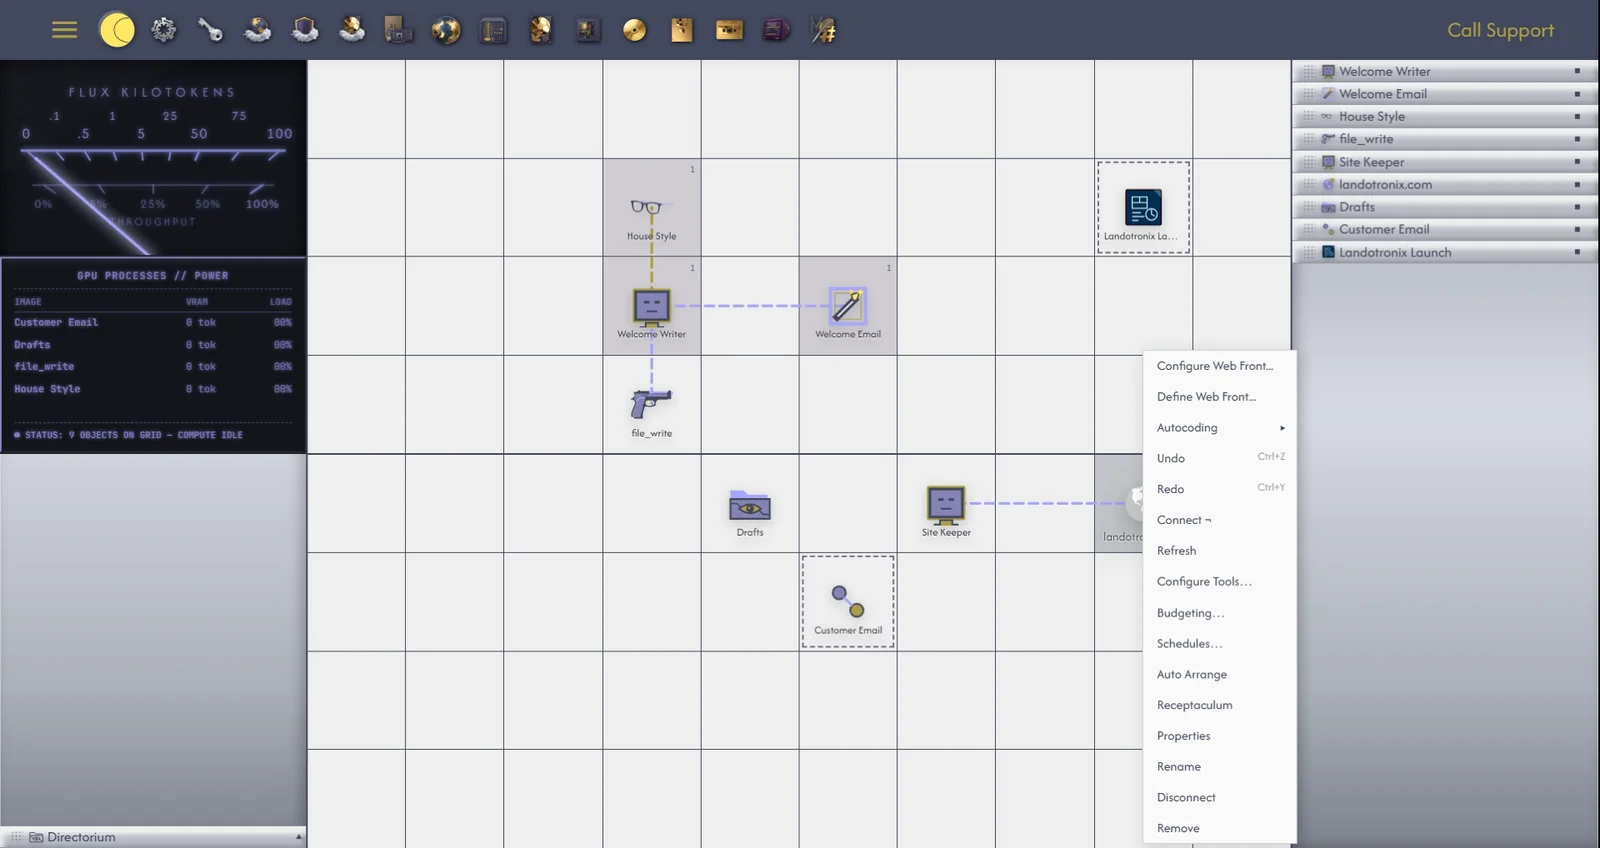
To place a Web Front, right-click an empty cell and choose Create New... ▸ Web Front, or click + Web Front in the Server app (28.1). To open it, double-click it, or right-click it and choose Configure Web Front.... Its right-click menu also offers Editor..., which opens the Editor on the site's files (23.1).
The window, titled Web Front — and the site's name, has seven tabs:
A website's files can be browsed like any folder: from the Overview tab, from Web Server ▸ Web Fronts in the File Directory, or in Index. They are read live from your hosting, through cPanel, so what you see is what your website is serving now. In Autocomputing '26, the same folders appear on your PC's drive under Web Server (chapter 39).
To publish a file is to put it into your website's folder, where the world can see it. Drag the file from your drive onto the Web Front, or into a folder of its website, or upload it there from your computer (up to 500 MB, sent in pieces when large). Gridtop asks Publish to your domain?; click OK, and it reports Publishing to your domain…, then Published to your domain.
Before any change to your website, Gridtop keeps a restore point of what was there (25.1), so a mistaken publish can be undone from Cloud Backups.
If a file of the same name is already in the folder, Gridtop asks what to do: Rename Incoming (keep the existing file, and give the new one a new name); Rename Previous (rename the existing file, and give the new one the original name); Replace (put the new file in place of the old, which is moved to cPanel's own Trash once the new one has arrived safely); or Cancel.
A version is a whole copy of the site, kept at A:/Agentic Matrix/Projects/ your domain /Staging as v1, v2 and so on. Nothing in a version is live: it is read, changed and shown in the Web Editor (chapter 27), and reaches your website only when you deploy it.
The Versions tab lists them, newest first, each row showing its name, a note of what it is (double-click the note to write your own), and where it stands: Live, In preview, or how long ago it was made. Preview opens the Web Editor on that version (27.1); Deploy puts it live. A version made from a template also carries Database (26.7). Right-click a version for Delete; it goes to the Receptaculum, and can be restored, except the version in the preview, which is kept. Open Folder shows the Staging folder on the grid.
To make a version, click New Version and choose From a template... (which opens the Templates tab, 26.7), From the live site (a copy of the site as it stands), From the last version (a copy of your own latest work), or Empty.
Deploying. Deploy asks first, Deploy v2 to your domain ?, then compares the version with the live site and sends what changed: its text files through publishing, with kept copies and rollback as always (26.4), and its images and other files whole. Large deployments go in parts, the line beneath the list reporting Deploying v2 (1 of 2)..., then Deployed v2.
When the open file in the Editor belongs to a website, the same controls sit in the Editor's Deploy ▸ fold (23.3): Deploy for the site's newest version, History of every deployment, any of which can be put back, Proposals, and the tick Agents may deploy.
Who may deploy. You may always deploy. An agent may deploy only with the permission Server Push / Deploy (15.2) on a site whose Agents may deploy is ticked. An agent without both sends its change to you as a proposal: Proposals shows how many are waiting, each with its note and the files it would change. Read them, then choose Approve and deploy, or Discard.
The Templates tab is a gallery of finished, original website templates, each a complete site built on one shared core: menus, its own pages, customer sign-in where the business needs it, forms that store and send what visitors type, and a back office. Choose a finished site. It lands in Staging as a new version. Among them are Counsel (law), Dispatch (home services), Clearview (eye care), Beacon (insurance), Showroom (auto dealers), Lantana (real estate), Meridian (a studio), Northside (a sports league), Harbor Light (a ministry), The Laker (news) and Platform (a political campaign).
Everything chosen here can be changed later in the Web Editor (chapter 27).
A template version previews at once, but its forms store and send nothing until its database is set up. Database, on the version's row, asks for the Owner's email (Signs in to the site's back office. Blank: this account's email.), then makes the site's tables and demo rows, and reports Database ready · and the number of tables. The owner's sign-in for the site's back office, at /admin/, is shown once: keep it.
The Forms tab sets up the forms of a version made from a template; each change is saved at once, with a readout. Choose the Version, then for each form: who it Sends to (+ adds a recipient, × takes one away), an Auto-reply to the sender, its Thank-you message, and any Endpoints, addresses to which a copy of each entry is sent, as a form post or as JSON. Beneath, Sending email sets the site's From name and From address, and whether mail is sent by This hosting account (PHP mail) or through an SMTP server. Online payments (Stripe) takes the site's own Stripe keys, for templates that take fees, gifts or dues; without them, payments fall back to invoices.
The Staging tab holds the preview's own settings, the door to the Web Editor (27.1):