Everything you create on Gridtop sits on the grid, one object to a cell, and how you arrange it is up to you: side by side with the agents that use them, gathered into coloured groups, joined by lines that show who serves whom. This chapter explains the grid itself, and how to select, move, copy and arrange what is on it.
The grid has 96 cells, twelve across and eight down; Settings ▸ Appearance can make it square, eight by eight (34.1). Each cell holds one object. The cells are drawn only as faint outlines, so that the grid stays out of the way of what is on it.
The grid fits itself to your window. When the window is too narrow for all twelve columns, Gridtop shows fewer, and any object that would fall into a hidden column moves to the nearest visible free cell. If there are more objects than visible cells, Gridtop says so, for example 3 objects are off-screen until the window is wider. Nothing is lost: widen the window, or choose Auto Arrange (5.5), and they return.
There are three ways to put something on the grid:
Every object has a name, shown beneath its icon and in the header of its descriptor panel. To rename an object, click its name in the descriptor panel's header, type the new name, and press ENTER; Gridtop confirms Renamed to and the new name.
Where an object has a folder or file behind it, as agents do, the folder and file are renamed with it, so that the name on the grid and the name on your drive always agree. If another folder in the same place already has that name, Gridtop says A folder named "…" already exists here. Choose another name., and keeps the old name.
To select one object, click it. To select several, hold CTRL and click each one; CTRL+clicking a selected object takes it out again.
To select a region, draw a box around it with the marquee, using the middle mouse button (on most mice, pressing the scroll wheel down): hold it and drag across the grid. The direction decides what the box does, and its colour tells you:
With the box drawn, press ENTER to carry out the action, or ESC to cancel. Before ENTER, CTRL+click an object to leave it out. With objects selected, the grid's right-click menu adds the actions that apply, such as Remove, Delete, Select Group, Ungroup and Disconnect.
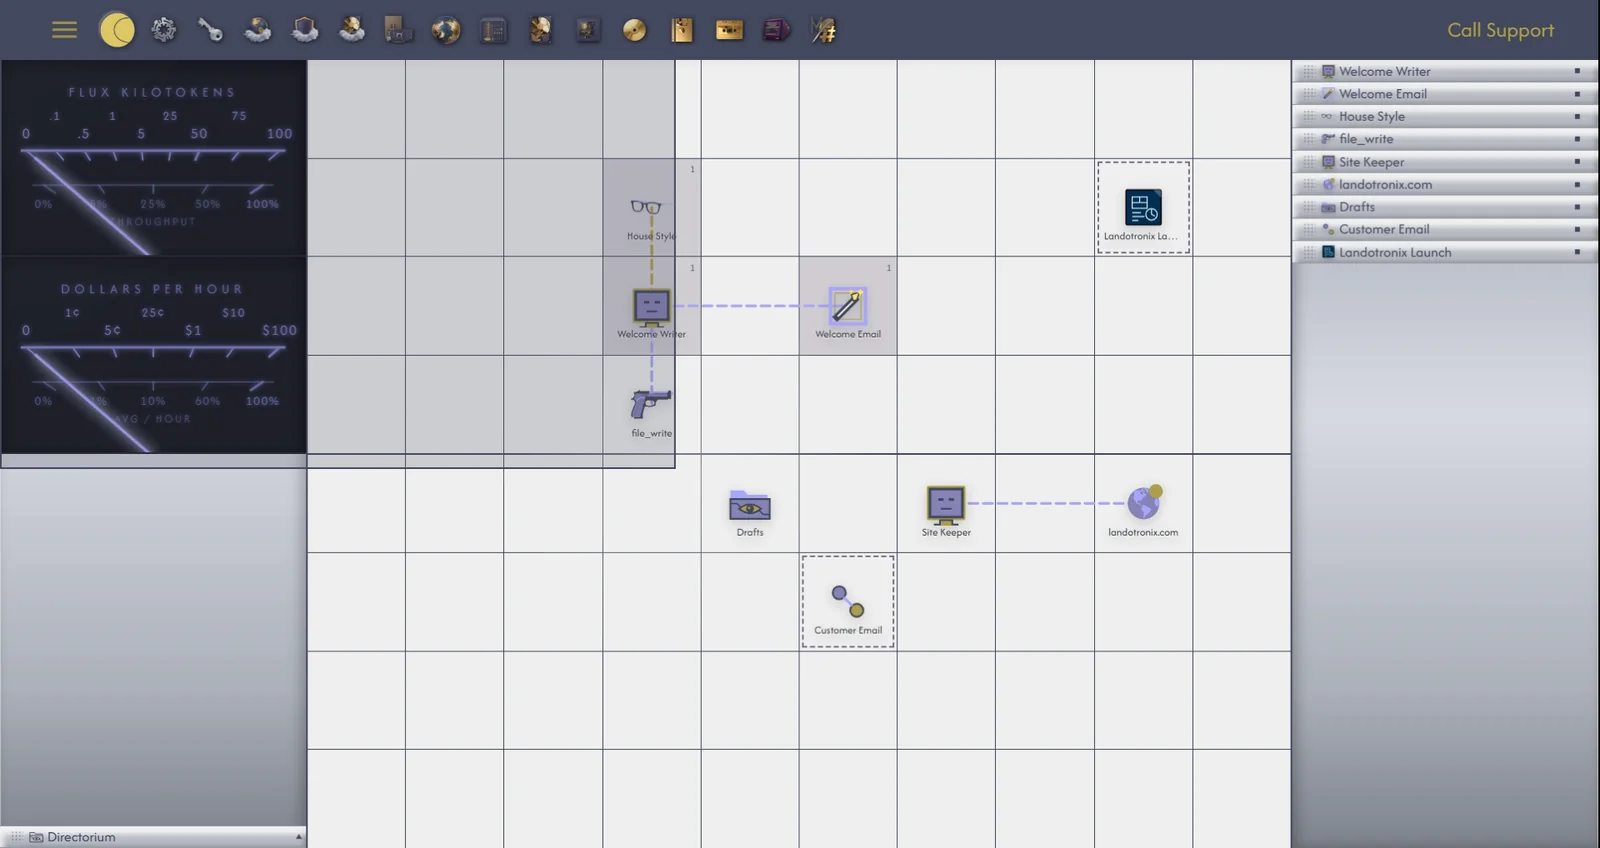
To move an object, drag it to an empty cell. If several are selected, dragging one moves them all, keeping their places relative to one another; objects in the way move aside, and connection lines follow.
To copy an object, hold CTRL as you drag it. A copy is placed where you let go, and the original stays. Every move and copy can be undone with CTRL+Z (9.2).
Auto Arrange, under Arrange on the grid's right-click menu, gathers objects that are off-screen or crowded out and places them in free cells you can see. It is the quickest way to recover after working in a narrow window.
A group is a set of objects you want to keep together, such as an agent and the Tasks, Skills and Tools it works with. Grouped cells take a shared colour, from a palette of seven, and a small numbered badge, so that you can tell at a glance which objects belong together.
To create a group, draw a gold marquee across the objects (5.3), and press ENTER.
A group's colour belongs to the group, not to the cells, so it travels with the objects when you move them, and it is kept when you close and reopen your Gridtop.